Keystatic x Astro

Time for the second part of my Headless CMS series - this time let's try out Keystatic.
What is Keystatic
Keystatic is one of those CMSs I promised myself to try for years, but I never did. And you know what? It was a huge mistake. From an unknown CMS, Keystatic became one of the top candidates to use in some upcoming projects.
Unlike Flotiq, Keystatic is:
Self-hosted
It creates MD/MDX/JSON/YAML files
It's totally free (there is Keystatic cloud, too, with a premium version)
You just need to add it to your Astro project (later on this below) and start writing.
What do I enjoy about it?
Keystatic is very minimalistic. Personally, I like it - it lets you focus on writing instead of getting constantly distracted.
There are a few things that I enjoyed a lot:
The fact that it's a laser-focused CMS - it's not perfect for everything, but it's perfect in some specific situations
entryLayoutoption - it lets you select which field is the main content field and automatically moves the rest of the content into a sidebar. It's one of those small things that change a lota lot of field types - I especially enjoyed
blocksandrepeatertypes. Also, the slug field works very well.conditional field types
What could be done better?
When I was working with this simple demo, I was only able to find one problem - I still don't know how to get the update time to update on each save.
Does it mean that Keystatic is perfect? Not exactly - it means that by using Keystatic, you agree to some limitations. And it's a good thing until you realize you hit this limitation.
Installation
First, we need to install Astro as usual. I will be using the default blog template.
When you're done, it's time to add Keystatic to the equation. To do so, just follow those steps. Use the keystatic.config.ts just to make sure everything is working.
In this tutorial, we'll use Markdoc instead of Markdown or MDX. Why? Because why not? Markdoc works perfectly fine with Astro.
Updating the keystatic config file
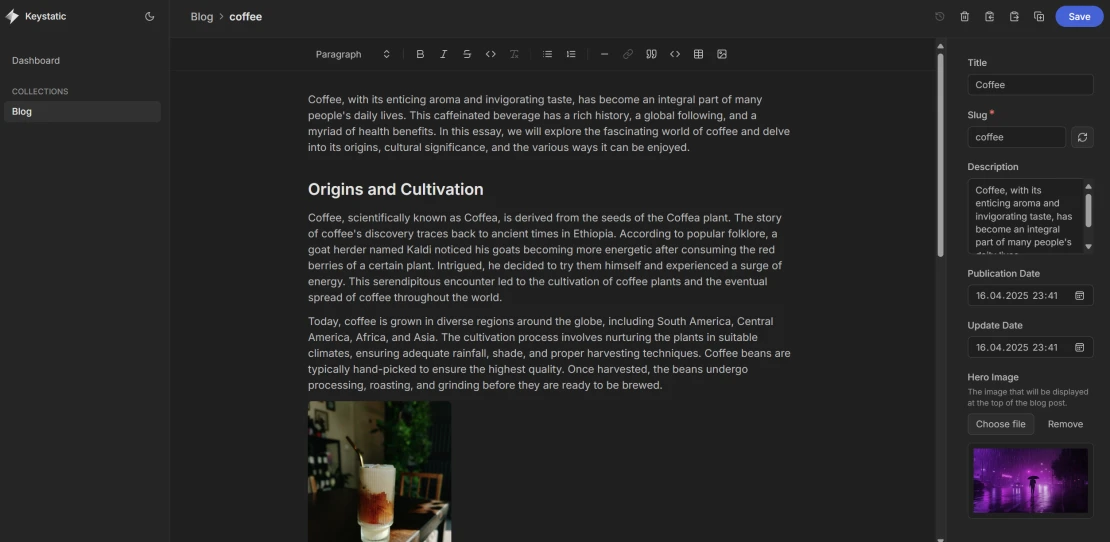
We want our blog to look like this:
title
description - which is an intro
content
publication date
hero image
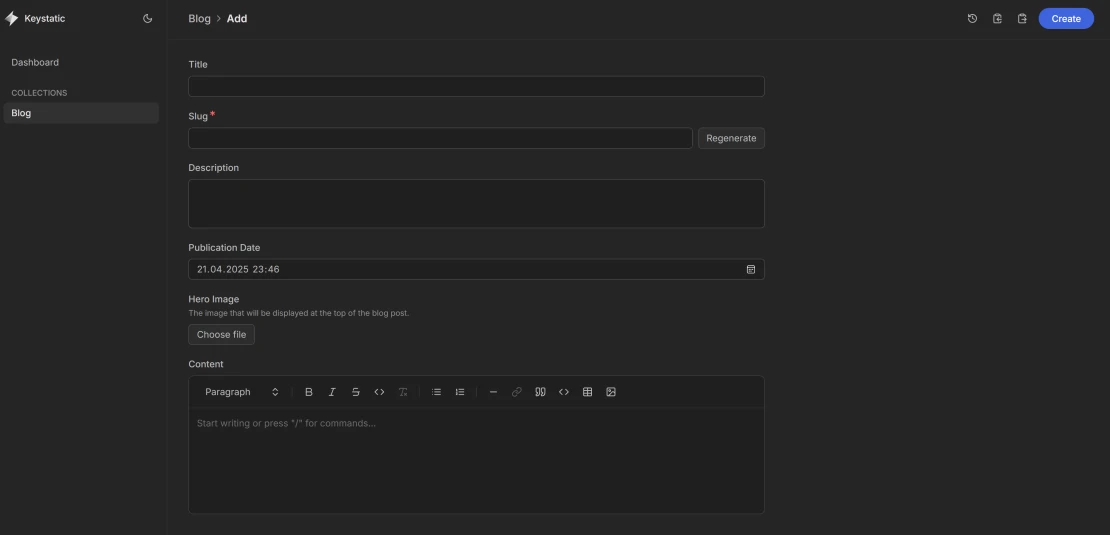
To achieve this, let's create the first version of our keystatic.config.ts
// keystatic.config.ts
import { config, fields, collection } from '@keystatic/core';

export default config({
  storage: {
    kind: 'local',
  },
  collections: {
    blog: collection({
      label: 'Blog',
      slugField: 'title',
      path: 'src/content/blog/*',
      schema: {
        title: fields.slug({ name: { label: 'Title' } }),
        description: fields.text({
            label: 'Description',
            multiline: true
        }),
        pubDate: fields.datetime(
            {
                label: 'Publication Date',
                defaultValue: { kind: "now" },
                format: 'YYYY-MM-DD HH:mm:ss',
            },
        ),
        heroImage: fields.image({
            label: 'Hero Image',
            description: 'The image that will be displayed at the top of the blog post.',
        }),
        content: fields.markdoc({
            label: 'Content',
        }),
      },
    }),
  },
});
Now, run npm run dev and visit the localhost:4321/keystatic. You should see something like this
It's OK, but before pushing forward, let's fix a few things:
Images are saved in the wrong folder
We can make it look nicer
The post listing could have more fields shown
Images
There is a guide in the Keystatic docs that explains it better. But overall, it comes down to upgrading the .tsconfig.json file a bit:
{
  "compilerOptions": {
    "baseUrl": ".",
    "paths": {
      "@assets/*": ["./src/assets/*"],
    },
  }
}
and updating the keystatic.confg.ts file:
heroImage: fields.image({
    label: 'Hero Image',
    description: 'The image that will be displayed at the top of the blog post.',
    directory: 'src/assets/images/blog',
    publicPath: '@assets/images/blog/'
}),
content: fields.markdoc({
    label: 'Content',
    options: {
        image: {
            directory: 'src/assets/images/blog',
            publicPath: '@assets/images/blog/'
        }
    },
}),
Nicer look
By default, Keystatic is using the entryLayout: form option. It results in having all your fields stacked on top of each other. But our page is a blog, so we want our content fields to be the most important one.
To do so, we need to apply a small change:
entryLayout: 'content',
format: {
  contentField: 'content',
},
Showing additional columns
Right now, when we're viewing all the posts, we can only see the post slug. I would like to see the full title and the publication date, too. To add this, we just need to add this line:
columns: ['title', 'pubDate'], Connecting to Astro
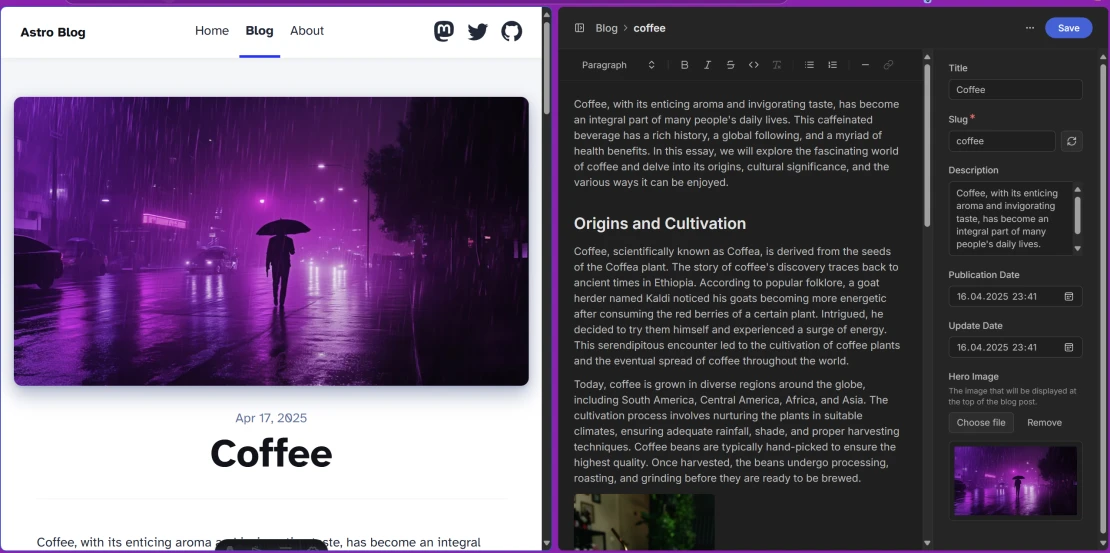
As I mentioned, we will use the default Astro Blog template. While it's not robust and full of features, it's perfect for our example.
Because Keystatic will save the new files inside Astro's content folder, there's not much to do. Still, we're going to update the content.config.ts file a bit:
import { glob } from 'astro/loaders';
import { defineCollection, z } from 'astro:content';

const blog = defineCollection({
	loader: glob({ base: './src/content/blog', pattern: '**/*.mdoc' }),
	schema: ({ image }) => z.object({
		title: z.string(),
		description: z.string(),
		pubDate: z.coerce.date(),
		heroImage: image().optional(),
	}),
});

export const collections = { blog };
I removed the updateDate field and converted heroImage to an image type instead of a string.
Images
The default Astro Blog theme handles images in a rather simple way - it just shows the images as they are by passing the URL. And while it works, we can(and should) do better. That's why we'll use the <Image /> component to optimize the images.
We just need to edit BlogPost.astro component and index.astro page. In both cases, you need to add:
import { Image } from 'astro:assets';in the frontmatter part and replacing the <img src... with <Image src... (rest of parameters stay the same).
Showing the data
Because we already updated the content.config.ts file, and the blog template already uses getCollection() we don't have to change anything. It will work out of the box.
Summary
Because of how Keystatic works, using files, connecting it with Astro is very simple. You still use Astro as usual, the only difference is that you edit content files in a different way.
In this tutorial, we just touched the tip of the iceberg of what Keystatic can do. Don't hesitate to give all other features a try.
Get updated about new blog posts
No spam