Playing around with Sanity.io

Sanity.io is one of the new cool kids regarding headless CMSs. I decided to give it a try and create almost precisely the same blog as the one you are reading.
What is Sanity.io
First of all, Sanity.io is a headless CMS. This means it's only responsible for storing the data, and it's up to us to connect it with a front end. We can use whatever we want here.
The CMS is fully configurable. Thanks to Sanity Studio, we can configure our CMS how we want - we just need to create schemas.
Sanity also gives us two ways to communicate with our application: GraphQL or GROQ. I just want to say that GROQ quickly became my favorite. It's like SQL and GraphQL had a baby.
Now that we know what Sanity.io is, it's time to code.
The plan
I plan to create a blog like the one you are just reading. This means we will need the following:
posts
navigation menus
setting page
categories
pages (although I skipped this as even now I'm almost not using this)
There are also some things that I decided not to add because it's just an experiment:
SEO settings
Open Graph data
SSR
Time to start modeling this content using Sanity Studio
Installation and some groundwork
Installation is pretty simple. Just follow the steps from the official guide, and everything should be up and running in a few minutes.
In my case, I also installed one addon - the markdown input field.
And here is the code repository. In the studio folder, you'll find everything related to Sanity. Apart from this folder, everything else is associated with Astro.
Adding schemas
My schema structure looks like this:
schemas
|-- documents
|-- objects
index.js
The document folder is for post types, and the objects folder is for small bits that we will reuse from time to time.
For example, let me show you how to create a category schema. First, create an empty file category.js inside the schemas/documents folder. Then add this code inside:
export default {
name: "category",
type: "document",
title: "Category",
fields: [
{
name: "title",
type: "string",
title: "Title",
},
{
name: "slug",
type: "slug",
title: "Slug",
description:
"Some frontends will require a slug to be set to be able to show the category",
options: {
source: "title",
maxLength: 96,
},
},
],
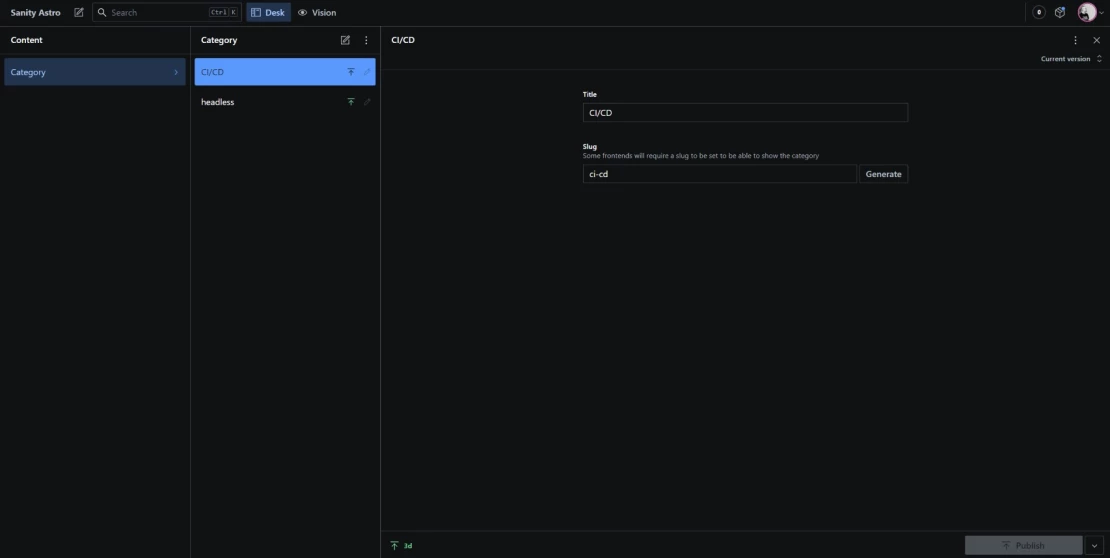
};As you can see, it consists of two fields - Title and Slug.
Next, it's time to import it the index.js file:
import category from "./documents/category";
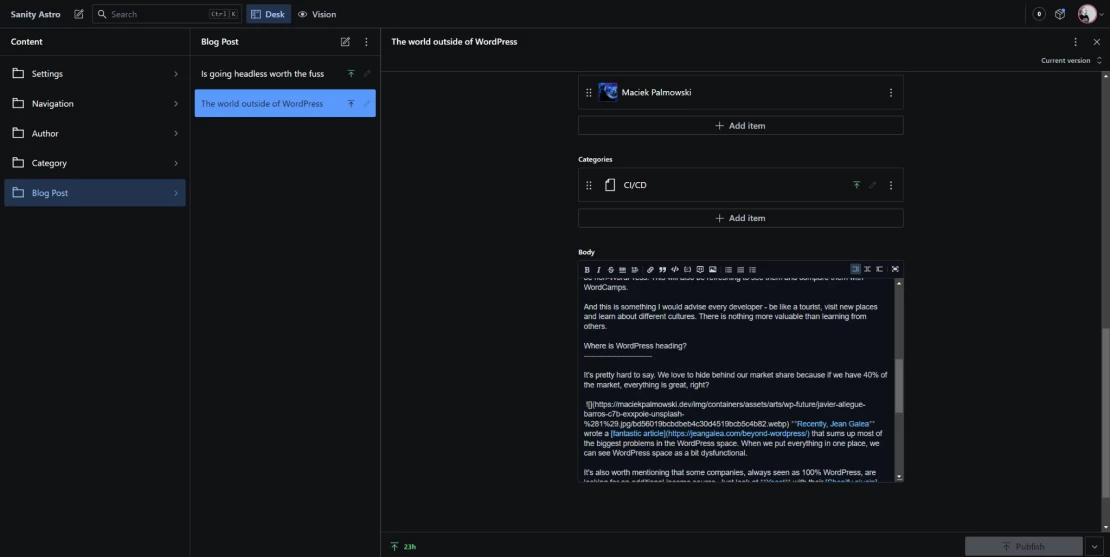
export const schemaTypes = [category];And is how our admin panel will look like:
You can browse the rest of the fields in the GitHub repo.
Connecting Sanity.io with Astro
Now, it's time to connect Sanity.io with Astro.
I won't go step-by-step because everything becomes simple if you understand how the GROQ language works.
First, we need to install the Sanity + Astro plugin. Kudos to Jaydan Urwin for all his hard work. After installing the plugin, I created a /src/utils/sanityHelper.js file to add all the helper functions I need.
So, let's get the navigation. First of all, I created a helper:
export async function getNavigation(navigationName) {
    const query = `*[_type == "nav" && id == "${navigationName}" ]`;
    const navigation = await useSanityClient().fetch(query);
    return navigation;
}
It fetches all the posts from the nav post type and the passed navigation id.
Next, in my header component I'm doing something like this:
---
import { getNavigation } from "../utils/sanityHelper.js";
const navigation = await getNavigation( 'header_menu' );
---
<ul class="font-bold font-palmiak-font tracking-widest">
{navigation[0].navItems.map((item) => (
    <MenuHeaderMobile href={item.navItemUrl.linkUrl}>{item.text}</MenuHeaderMobile>
))}
</ul>
... and that's it 😄
Fetching posts is similar. There are some gotchas.
Images
In the helper file, you'll find the urlForImage function. To use, you have to use:
{urlForImage(post.mainImage).width(640).auto("format")}Also, check the sanity/image-url documentation. You'll learn more about all its possibilities.
Markdown fields
Astro, by default, doesn't have any method to show markdown data that was fetched from an API. To fix this, we have you use the marked package. This is how I displayed post content:
---
import { marked } from 'marked';
const { post } = Astro.props as Props;
---
<div set:html={marked.parse(post.body)} />
Querying references
When I wanted to display category names in every post, I hit a small bump on the road. Luckly it was easy to solve.
This is what my initial query looked like:
*[_type == "post" ] {
    _id,
    title,
    publishedAt,
    categories,
    mainImage,
    excerpt,
    slug
} | order(publishedAt desc)
to get all the data related to each category, I had to add []->
*[_type == "post" ] {
    _id,
    title,
    publishedAt,
    categories[]->,
    mainImage,
    excerpt,
    slug
} | order(publishedAt desc)
Check out this page for more information.
That's it
I hope you'll also find Sanity.io as friendly and easy to use as me. Of course, this article just scratches the surface of what Sanity.io can do and how we can configure it.
Don't forget to share what you have done using Sanity.io.
Get updated about new blog posts
No spam